
We are joining many others in the desire to build an outside covered area ~ a spot to set up some chairs and a table out of the weather, where you can be protected from the rain or the strong rays of the sun. A spot where you can set up for a summer party and not worry if a change in the weather will change your plans!
Our covered area will be a multi functional room that will take us through all of the seasons, spring will see it being a place to sit and enjoy the view and not the spring showers ~ in summer, an area to retreat from the sun and at times a “tent house” (ours will be large enough to set up our full size tent, where it can protect our overnight guests at the cabin from the elements) and it may even be a dance floor ~ in the Fall it will continue in being a great sitting spot ~ and for the winter we anticipate that we may stack our collection of adirondack chairs in the center for keeping dry.
I have been taking pictures as Rick and then Glenn, one of our carpenters, have been building it and in other posts will show you it’s progress. There are many ways to build these rooms and ours is but one – the timbers alone make this one different, they were milled a few years ago from trees at our Nile Landing subdivision.
Planning the site, staking it out and starting to dig – first a small dogwood tree needed to be moved,
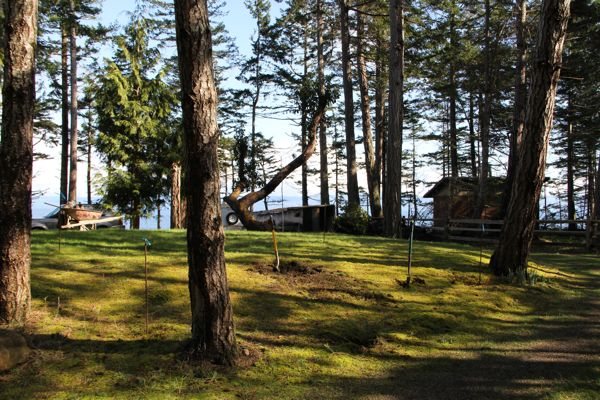 Forms were built for concrete support columns (it is cost prohibitive to bring a concrete truck over to Hornby Is. for smaller amounts so we didn’t do a full foundation),
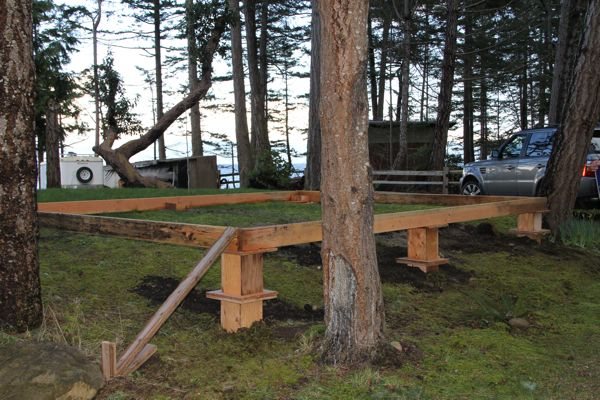 Floor system beams were next after the forms were stripped,
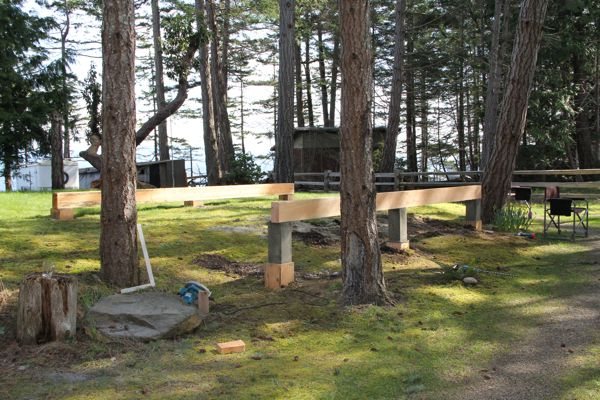 Then, the floor joists (4 x 8’s) were anchored into place to cover the 11′ span,
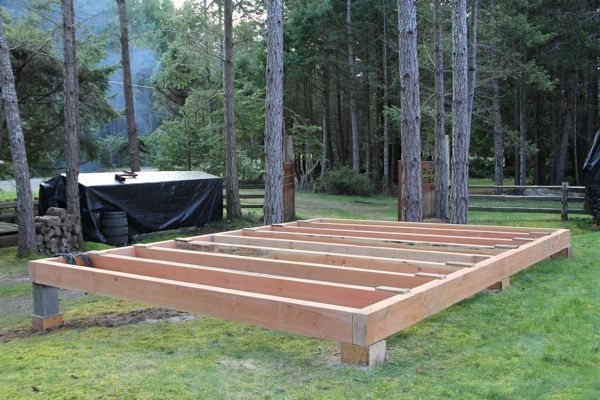 Next, came the start of Rick needing help as the timbers for the frame and roof beams were too large for him to handle alone,
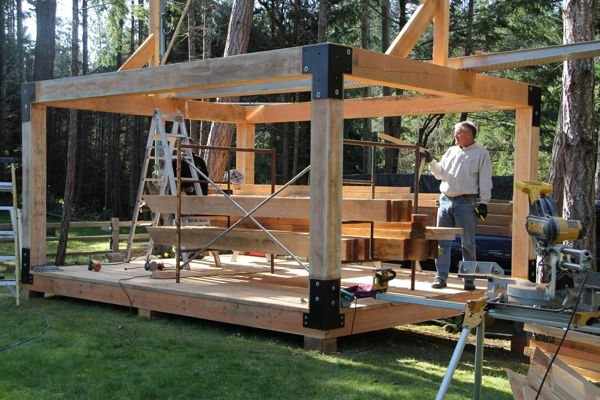 Carlisle Fabricators in Fanny Bay custom made the corner brackets according to Rick’s drawings, these eight brackets aid in the stability, they went on just prior to the ridge beam(3 x 12′) being lifted into place,
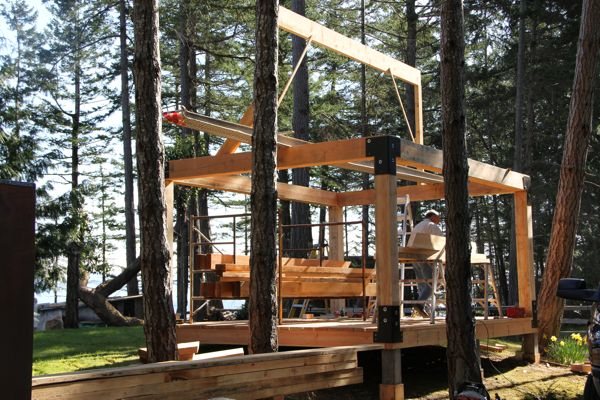 The shape really began to show with the first rafters (3 x 8’s) in position, the guys were really ready for lunch!,
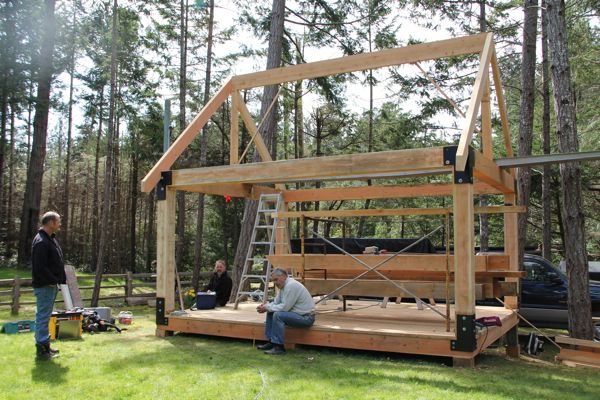 The rafters were all cut with a birds mouth notch, sanded and then adjusted into place over the course of a couple of hours,
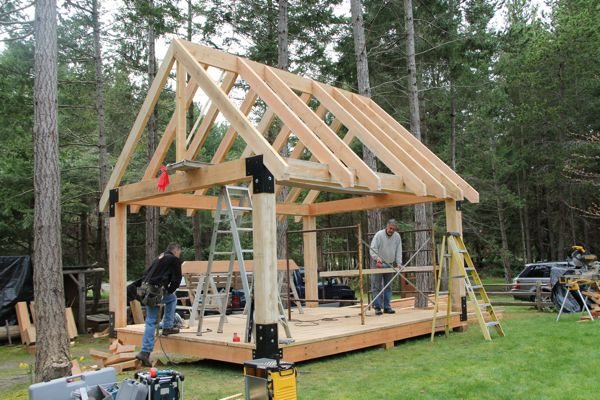 The final job for the day was placing a tarp over the roof,
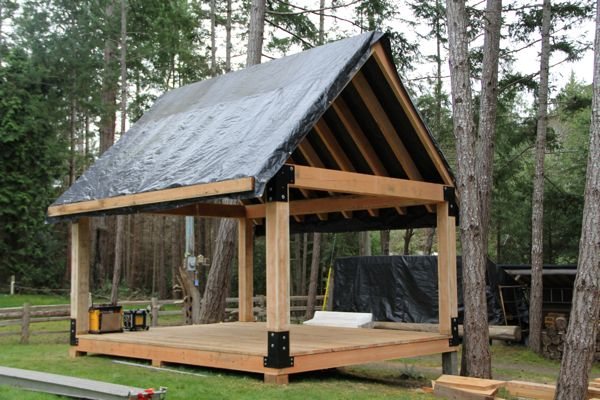 A last shot from the angle this post started at,
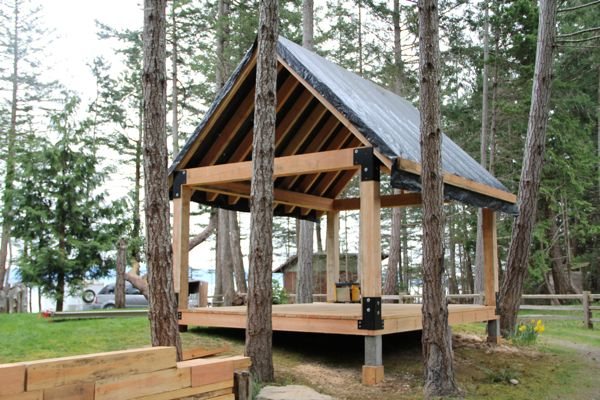 Rick can’t wait to get to the cabin again to start planing & sanding the roof decking so that it can be installed on top of the rafters!
If you have any questions as to the details for how this outdoor covered area is being built please don’t hesitate to contact us, we would be happy to share this information.
Part two, soon!